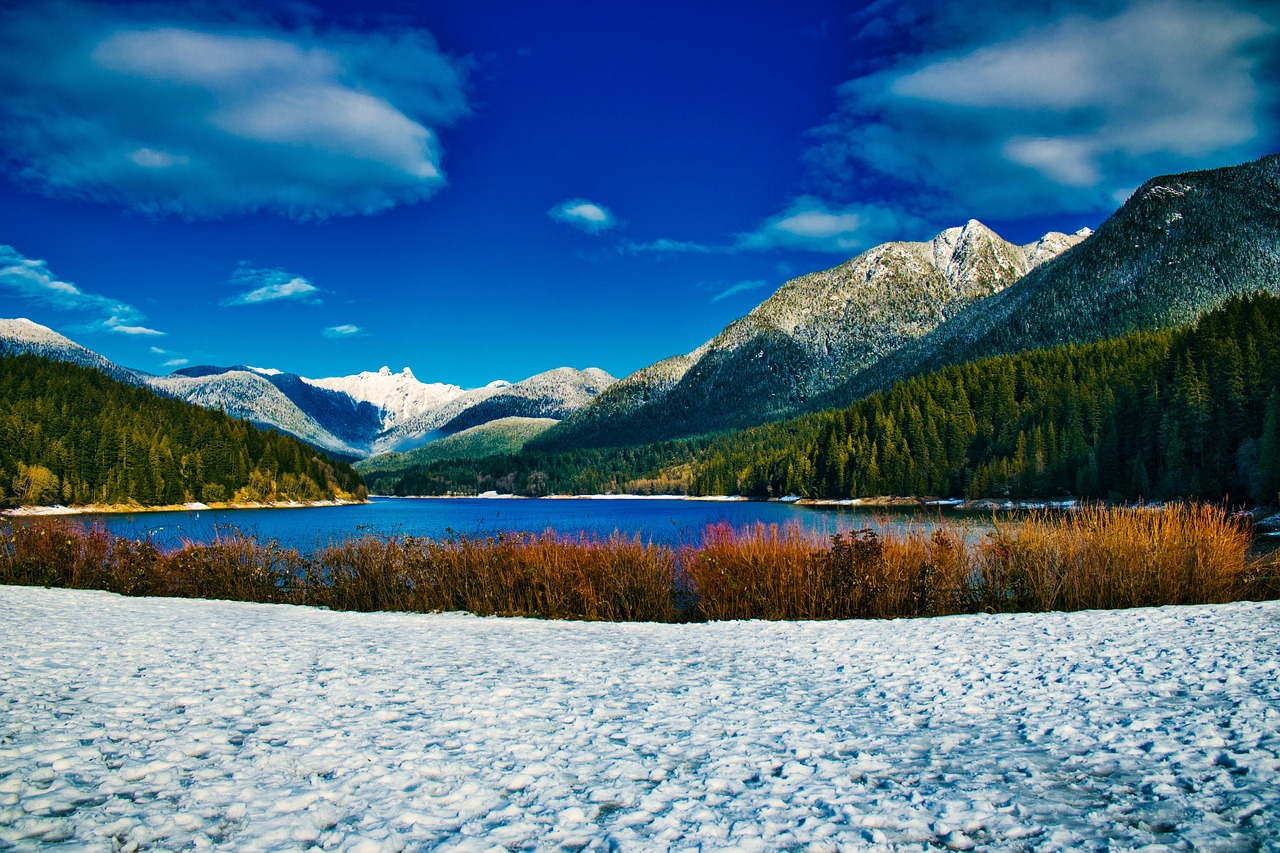
You’re standing at the trailhead above Lake Louise at noon, shirt soaked from the climb, and by the time you reach the ridge an hour later the temperature has dropped ten degrees and sleet is stinging your face. That is not an unusual spring day in Banff — it is a typical one. The single most important thing you can pack is a layering system that lets you add and shed insulation within seconds, because the gap between a warm valley floor and a snow-dusted ridgeline is measured in minutes, not hours.
Before you sort a single item into your bag, confirm your entry documents are sorted — travelers need to check if they require an eTA to visit Canada, and the Canada eTA application checklist walks you through exactly what to prepare before you leave home, while the Calgary airport arrival guide covers the step after landing.
Trail conditions in Banff National Park can change rapidly, and spring amplifies that. Snow lingers on high routes well into the season. A morning that starts in a t-shirt can end in a whiteout. The checklist below is built around that reality.
Understanding Banff’s Spring Weather: Why Layering is Non-Negotiable
Banff sits inside the Canadian Rocky Mountain Parks UNESCO World Heritage Site, deep in the Alberta Rockies. The mountains here create their own weather — cold air funnels down valleys, afternoon storms build fast, and a single trail can pass through three distinct microclimates. Spring is not a gentle transition from winter to summer. It is both seasons running simultaneously, often within the same afternoon.
What that means practically: you can hike in a light fleece at the valley bottom, hit a snow field mid-trail, get rained on at the top, and return to warm sunshine at the car. Packing for “spring” in the way you’d pack for spring in a coastal city will leave you cold, wet, and cutting days short.
The layering principle exists precisely for this: a moisture-wicking base layer pulls sweat away from your skin, a mid-layer traps warmth, and a waterproof outer shell blocks wind and precipitation. Each layer does a specific job, and no single garment can do all three. Pack them separately so you can combine and strip them as conditions shift.
The Core Layers: Base, Mid, and Outer Essentials
Stage 1 — Base Layer (worn against skin)
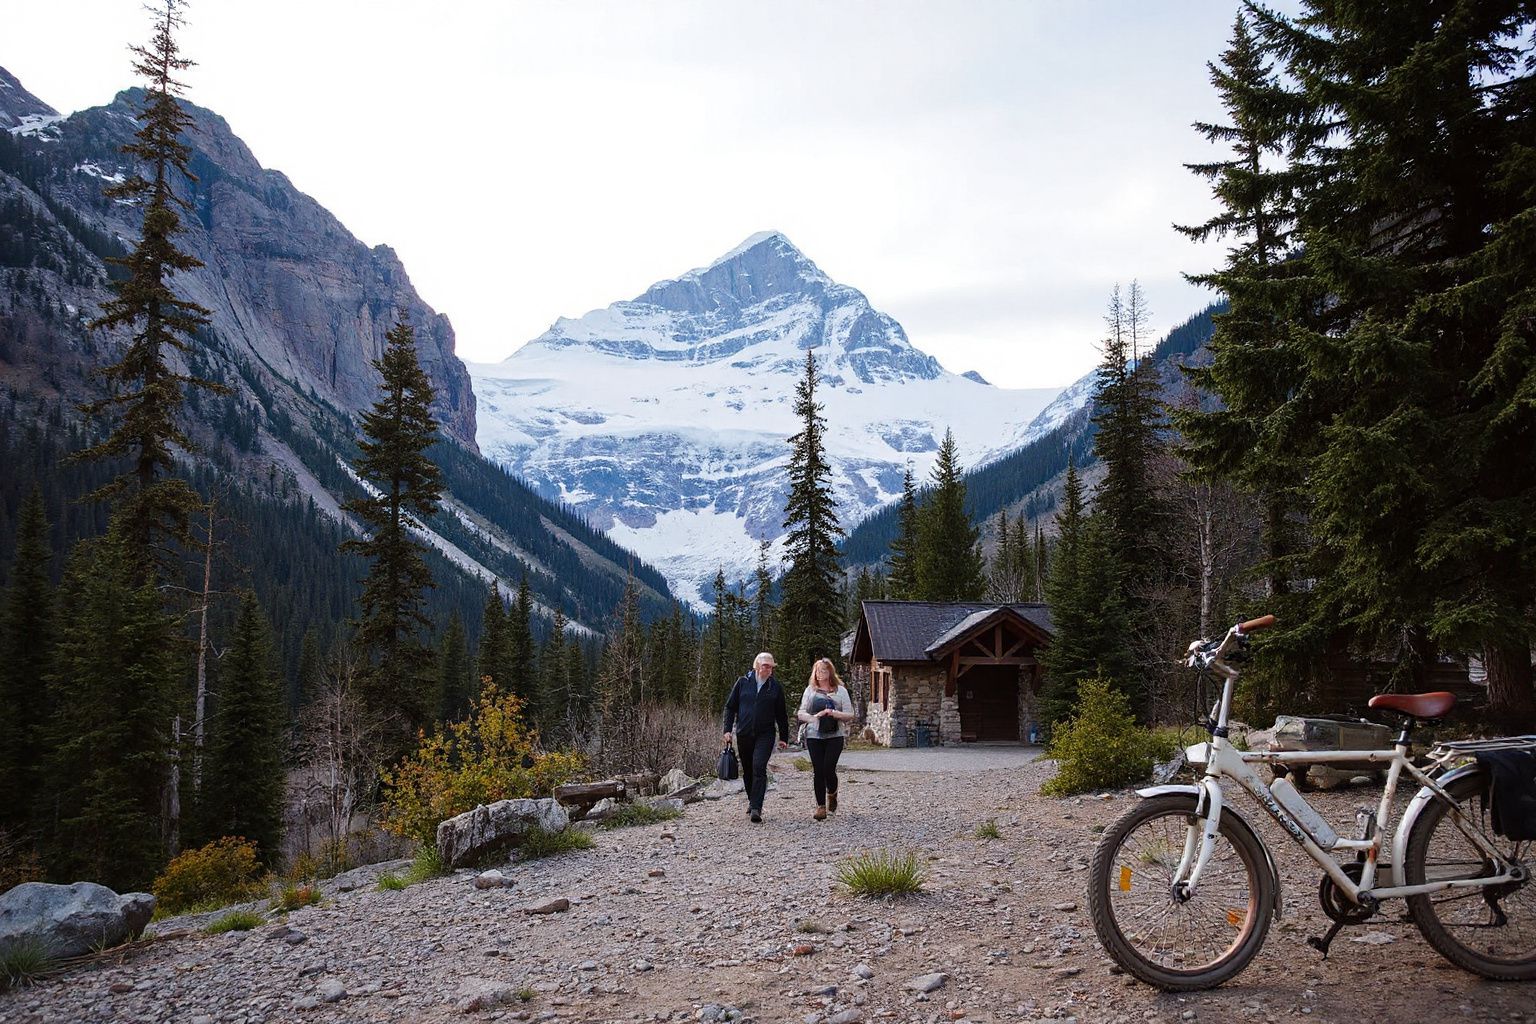
- Moisture-wicking long-sleeve top — synthetic or merino wool; cotton holds sweat and chills you fast, so leave it at home for active days.
- Lightweight long underwear bottoms — essential for early morning starts and higher elevation hikes.
- Two to three base layer sets — spring in the mountains is physically demanding; you’ll want a dry set each day.
Stage 2 — Mid Layer (insulation)
- Fleece jacket or down sweater — a mid-weight fleece is the workhorse of a spring Banff trip; a packable down jacket adds warmth without bulk for summit days.
- Softshell or insulated pants — for cold mornings, high trails, or anyone who runs cold; convertible zip-off pants earn their weight if you’re hiking most days.
Stage 3 — Outer Layer (weather protection)
- Waterproof, breathable rain jacket — this is non-negotiable. Look for taped seams and a hood that cinches down properly. A “water-resistant” shell is not the same thing.
- Waterproof rain pants — most people skip these and regret it the moment they’re caught in a spring downpour on a trail with no shelter.
- Light packable wind layer — useful for exposed ridgelines where a full rain jacket is too warm but the wind cuts through a fleece.
Everyday clothing
- Two or three pairs of hiking trousers or quick-dry pants
- Short-sleeve shirts for warmer valley days
- One smart-casual outfit — Banff town has good restaurants; you won’t want to eat dinner in trail clothes every night.
Footwear for Variable Terrain and Conditions
Spring trails in Banff range from dry gravel at lower elevations to mud, slush, and compacted snow higher up. Your footwear choice shapes your whole day.
| Footwear Item | When You Need It |
|---|---|
| Waterproof mid-cut hiking boots | Every trail day; the single most important footwear item |
| Microspikes or traction devices | Any trail above treeline early in the season; snow and ice patches persist |
| Camp sandals or light shoes | Evening use in town or at camp; your feet will thank you |
| Wool or synthetic hiking socks | Multiple pairs recommended; wet socks can cause blisters |
| Gaiters (lightweight) | Useful when trails are slushy or you’re crossing snowfields |
The mistake most first-timers make: bringing trail runners instead of waterproof boots. Trail runners are fine in dry summer conditions, but a spring snowfield or a muddy switchback will soak them in minutes. Cold, wet feet end hiking days early.
Essential Accessories for Mountain Comfort and Safety
These items are small individually, but together they account for the difference between a comfortable day out and a miserable one.
Head and hands
- Warm hat (wool or fleece) — you lose significant heat through your head; carry this even on warm forecast days
- Lightweight gloves or liner gloves — a cold wind at elevation makes bare hands painful fast
- Sun hat or cap — spring sun reflects off snow and is stronger than it feels; UV exposure at altitude is real
Eye and skin protection
- Sunglasses with UV protection — snow glare at Banff’s elevation causes eye strain quickly
- High-SPF sunscreen — apply before you start; reapply mid-day
- Lip balm with SPF
Navigation and communication
- Downloaded offline maps — cell coverage drops off on many trails; the Parks Canada app can enhance your visit with visitor information and mobile tours, but download content before you leave town
- Trail map (paper backup) — never rely solely on a phone
- Fully charged battery pack — cold temperatures drain phone batteries faster than usual
Beyond Clothing: Gear for Day Trips and Emergencies
Banff is open year-round, and Parks Canada emphasises that being prepared is the best way to enjoy any visit. For spring day trips, that preparation includes gear beyond clothing.
Day pack essentials
- A suitable daypack — large enough for layers, water, food, and emergency kit without being cumbersome
- Sufficient water capacity — hydration bladder or bottles; refill at trailheads where available
- High-energy snacks and lunch — there are no cafes on the trail; carry more than you think you need
- First aid kit — blister treatment, pain relief, bandages, and any personal medications
- Emergency whistle and small flashlight or headlamp — trail conditions can change rapidly, and a longer day than planned is not uncommon
- Bear spray — wildlife is active in spring and encounters are possible; carry it accessible, not buried at the bottom of your pack, and know how to use it before you need it
Campsite and overnight additions
If you’re camping, reservations through Parks Canada are required for most sites. Add to your kit:
- Four-season or three-season tent rated for cold temperatures and wind
- Sleeping bag rated well below the overnight temperatures you expect
- Insulated sleeping pad — cold ground pulls heat away from a sleeping bag faster than cold air does
- Camp stove and fuel
What to leave behind
Recreational drones are prohibited throughout Banff National Park. Operating one can result in a fine of up to $25,000, so leave yours at home entirely — there’s no grey area here.
Common Mistakes That Leave Visitors Cold (or Worse)
1. Packing for one type of weather You check the forecast, see “partly cloudy, 12°C” and pack accordingly. Then you gain 600 metres of elevation and it’s snowing. Always pack for conditions two or three degrees colder and wetter than the valley forecast, because the mountains create their own weather.
2. Wearing cotton as a base layer Cotton feels comfortable at the trailhead. Wet, it becomes cold and heavy and stays that way. One sweaty climb or one unexpected shower and you’re hypothermia-adjacent. Synthetic or merino wool only for anything worn against your skin on active days.
3. Skipping waterproof pants Most people pack a rain jacket and assume that’s enough. When the rain is sideways and the trail is running with snowmelt, your legs get soaked and cold within minutes. Waterproof pants fold into almost nothing; there’s no good reason to leave them out.
4. Not carrying traction devices Trail conditions in Banff can change rapidly, and spring snowfields at higher elevations can persist long after the valley looks like summer. Microspikes weigh almost nothing and fit in a jacket pocket. Without them, icy trail sections become genuinely dangerous.
5. Underestimating distances and elevation gain Distances in the Rockies are larger than they look on a map, and elevation gain adds time and effort that flat-terrain hikers don’t anticipate. A trail listed as 10 kilometres with 500 metres of gain takes longer than a flat 10-kilometre walk. Pack more food, more water, and more layers than you think a “short” hike requires.
FAQ
Do I need to pack snow gear even in late spring? Yes, for anything above treeline. Glacial lakes like those Banff is known for sit at high elevation, and the trails above them often hold snow and ice well into the season. Microspikes and waterproof boots are relevant for most of the spring window, not just the early weeks.
What’s the best way to pack light while still being prepared for everything? Choose items that do double duty. A packable down jacket works as a mid-layer on the trail and an evening layer in town. Merino wool base layers can be worn two days in a row without the smell problem synthetic fabrics develop. Prioritise the outer shell and footwear — those are the items where cutting weight creates real risk.
Are there any items I should avoid bringing? Recreational drones are prohibited in Banff National Park, with fines of up to $25,000. Heavy cotton clothing is worth leaving out entirely for active days. Anything fragile or irreplaceable is better left at home — trails involve rocks, mud, and the occasional fall.
Should I pack different clothes if I’m planning specific activities like hiking or biking? Hiking and biking share most of the same layering needs, but biking generates more wind chill on descents, so a windproof outer layer matters more. For a soak at Banff Upper Hot Springs — a genuine tradition in the park — pack a swimsuit and a small towel; admission is purchased in person on the day.
Final Preparation Steps
Spring in Banff rewards the prepared visitor. Before you leave home, it is worth reviewing Canada eTA processing time so your travel authorisation is in place well ahead of your departure date. For a closer look at what the season actually brings, the guide to spring in Banff and Lake Louise covers timing and on-the-ground conditions in detail. For a closer look at what the park offers across the season, the guide to spring in Banff and Lake Louise covers timing and conditions in detail. The park is open year-round, the wildlife is active, and the trails are coming back to life — but the mountain weather doesn’t soften just because the calendar says spring. Build your kit around the layering system, invest in waterproof boots and a proper rain shell, and carry traction devices any time you’re heading above the valley floor. Check Parks Canada’s trail conditions before each day out, and verify your reservations for campsites or shuttle access to places like Lake Louise well in advance.